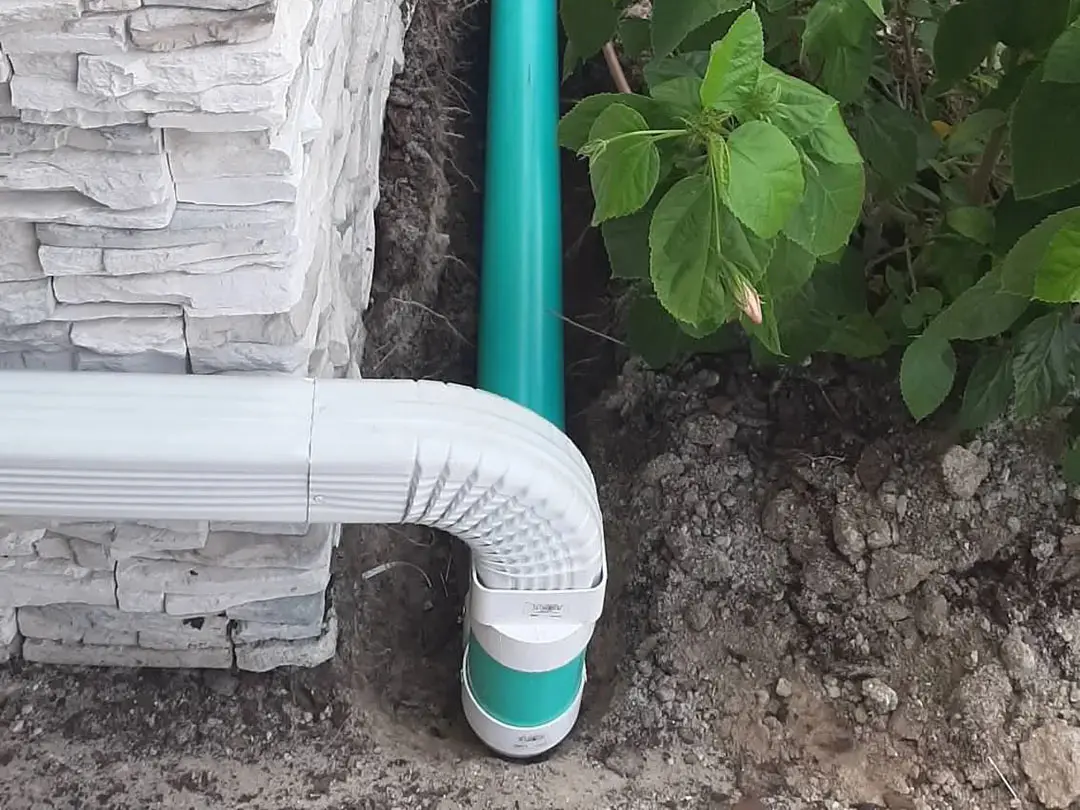
Rain should leave your roof, pass through the gutters, and keep moving until it reaches a safe outlet away from the house. When that path breaks, water lingers at the foundation, soils wash out, and slabs stay damp longer than they should. If you have noticed puddles near the edges of your home or soil splashing up the walls after storms, you are not alone. Homes in Tampa Bay see heavy downpours that expose small gaps in the drainage path.
The solution is a full-path approach that treats the roof edge, gutters, downspouts, soil, and landscaping as one system. This guide explains how to reduce erosion and keep slabs drier by tuning each step of the route. Whether you are planning routine upkeep or considering gutter installation in Tampa Bay, you will learn practical steps you can apply right away.
Drip edge and apron basics
Begin at the edge of the roof. The metal strip that is hidden beneath the shingles along the eaves is known as the drip edge. Its job is to push water into the gutter rather than let it curl under the fascia. To prevent runoff from slipping behind, the apron flashing connects the shingle edge to the gutter’s back. When combined, they produce a seamless transition from roof to gutter. A true line along the eave, appropriate overlap at joints, and tight, consistent contact without daylight gaps are all things to look for. To prevent water from sitting in the trough, gutters should be positioned just below the drip edge and angled slightly toward outlets. Many ground-level problems can be avoided later with a once-a-season visual check.
Aim outlets the right way
Instead of draining into walkways, air conditioning pads, or slab corners, downspouts should direct their flow toward areas that can accommodate it. Keep outlets away from moist planting beds close to the house and direct them with elbows toward the lawn or a shallow swale. Instead of allowing water to sheet across the surface, sleeve the outlet beneath the hardscape if you must cross it over a path. A splash block should only be installed when the outlet has no extension. Its slope should direct water away from the outlet rather than sideways into a low area.
Extensions and drains that carry water away
A few extra feet of water movement can make the difference between a soggy and dry foundation. Securely fasten extensions that are at least four to six feet away from the wall. Downspouts should be directed into gravel dispersion trenches, pop-up emitters, or underground drains that gently slope toward daylight if aesthetics or space are an issue. For a buried pipe, a one percent fall is a good target. Avoid connecting roof drains to sanitary lines and install a cleanout close to the downspout to allow leaves to be flushed out. A short extension feeding a gravel dry well can disperse flow without reversing water toward the slab in regions with slow-soaking soils.
Grading touch-ups
To avoid water staling at the edge, the soil should slope away from the house. A basic guideline is to use compacted topsoil that has been shaped to a gentle, even grade to create a five percent slope for the first five to ten feet. To safeguard the wall system, keep finished soil a few inches below stucco or siding weep lines. If you see any tree roots, stepping stones, or landscape borders that form small dams, shave or notch them to give water a clear path. Review the grade and add fill where channels have formed following extensive work or settling.
Mulch and splash control
Rainfall can erode exposed soil and cause grit to splash onto walls, even with sound grading. Installing a 12- to 18-inch gravel strip along the foundation is a neat way to manage this. Stone allows water to filter through without bringing soil with it, absorbs impact, and breaks the splash arc. To enable the space to breathe, keep the mulch in beds two or three inches deep and pull it back a few inches from the wall. During storms, edging helps prevent mulch from drifting into the drainage channel. A small bed of larger rock beneath the outlet prevents crater-forming impacts and keeps fines from moving, where the roof valleys hit the gutter with a strong stream.
Bringing it all together
When each link in the route does its job, rain leaves the roof smoothly, enters a clean gutter, exits in a controlled stream, and travels over shaped soil to a stable outlet. The result is a drier slab, less erosion, and landscaping that looks better after every storm. If you would like a professional eye on your system or are considering gutter installation in Tampa Bay, schedule a visit with MD Seamless Gutters.
Picture Source: MD Seamless Gutters


